Getting accurate data from your scorecards is an essential part of how Tracer has been designed. The System allows you to take a photograph of your scorecard, allowing you to align precisely the location of your shots onto your written scorecard.
This step assumes you’ve already set up a new scorecard with an appropriate target (set in Scorecard Settings).
You should now be looking at a blank scorecard showing your chosen target.
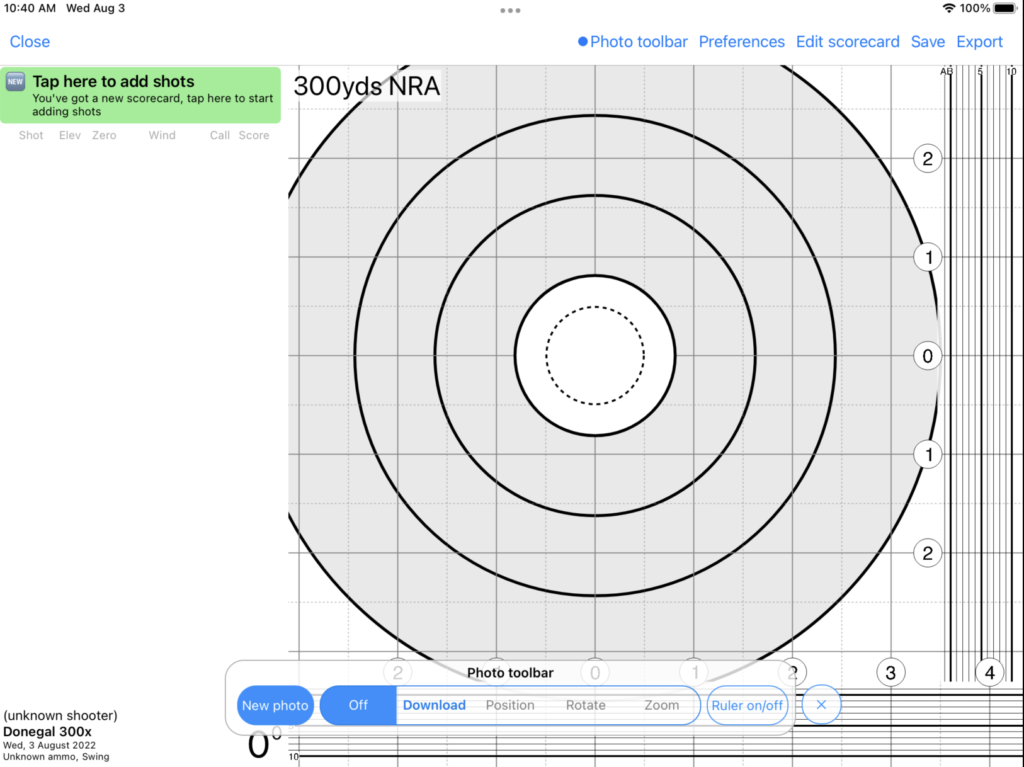
Enable the photo toolbar and select a photo
Tap the Photo toolbar button at the top of the screen. This will display a series of buttons at the bottom of the screen which allow you to select and set up a photo as shown to the right.
You can take a photo of a scorecard directly with the app, or select one from the pictures stored on your device.
TIP: One of the benefits of using Tracer is that it will keep both the photograph of your actual paper scorecard, and the digital version, for later recall. Rather than taking a photograph just of the scorecard diagram, it may be preferred to take a photograph of the entire scorecard including wind and elevation data in case you’d like to view the original scorecard in future.
Align the photo to the digital scorecard
Once you select the scorecard photo, it will be shown on the screen, however it will not be aligned correctly to the scoring rings shown on the screen. We need to align this now.
Step 1: If the scorecard is the wrong way up, rotate it accordingly

Tap the Rotate button on the Photo Toolbar, and then tap the 90 degree rotate button at the top of the screen to rotate the entire image until it’s the right way round.
Step 2: Align the centre of the target
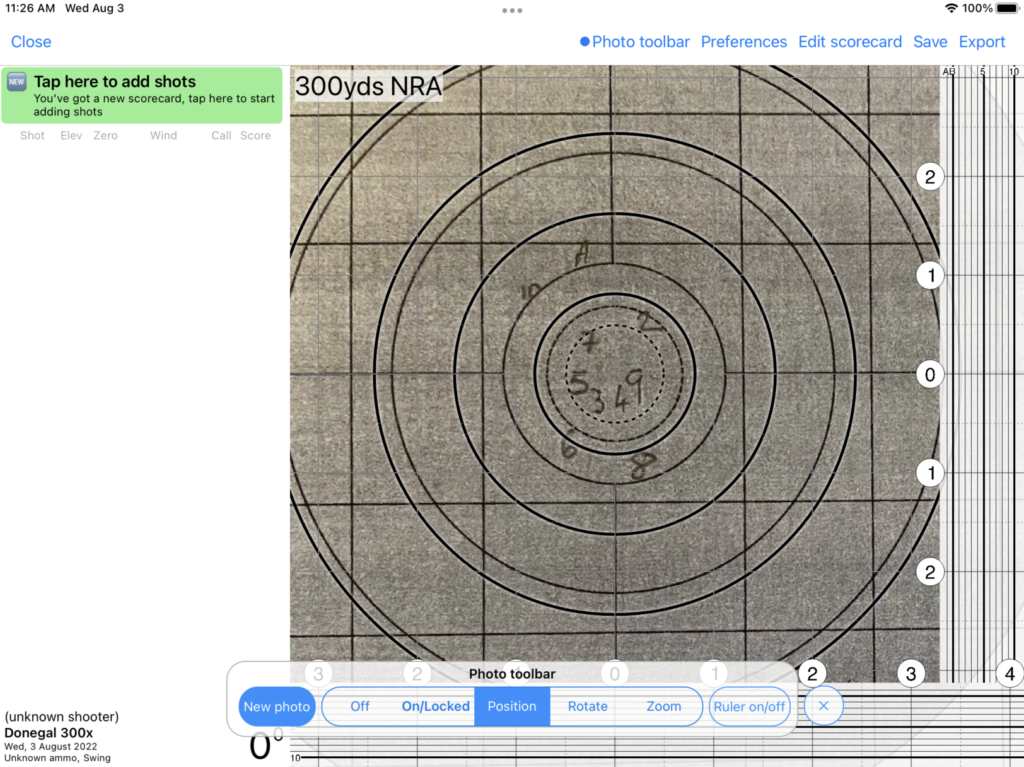
Tap the Position button on the Photo Toolbar. This allows you to move the photo independently of the digital scorecard.
Drag the photos so that the horizontal and vertical wind and elevation waterlines align to the digital scorecard. You can pinch-zoom the image if it’s too large / small.
Don’t worry if the photo isn’t zoomed correctly (per the image). Although you can zoom it by pinch zooming, there is a better way to do this.
Step 3: Rotate the image to align if required
If the image is slightly skewed, you can tap Rotate on the Photo Toolbar, and move your finger up and down the image to fine rotate the image to match horizontal and vertical lines exactly.
Step 4: Zoom the image
Now tap Zoom on the Image Toolbar, and move your finger up and down the image to zoom in and/or out the image until the rings between align.
TIP: Once zoomed you may need to re-position the image slightly to ensure that the scoring circles align.
WATCH OUT! Double-check that the V-bull and 5 rings are correctly aligned – it is possible to accidentally align the V-ring to the 5-ring.
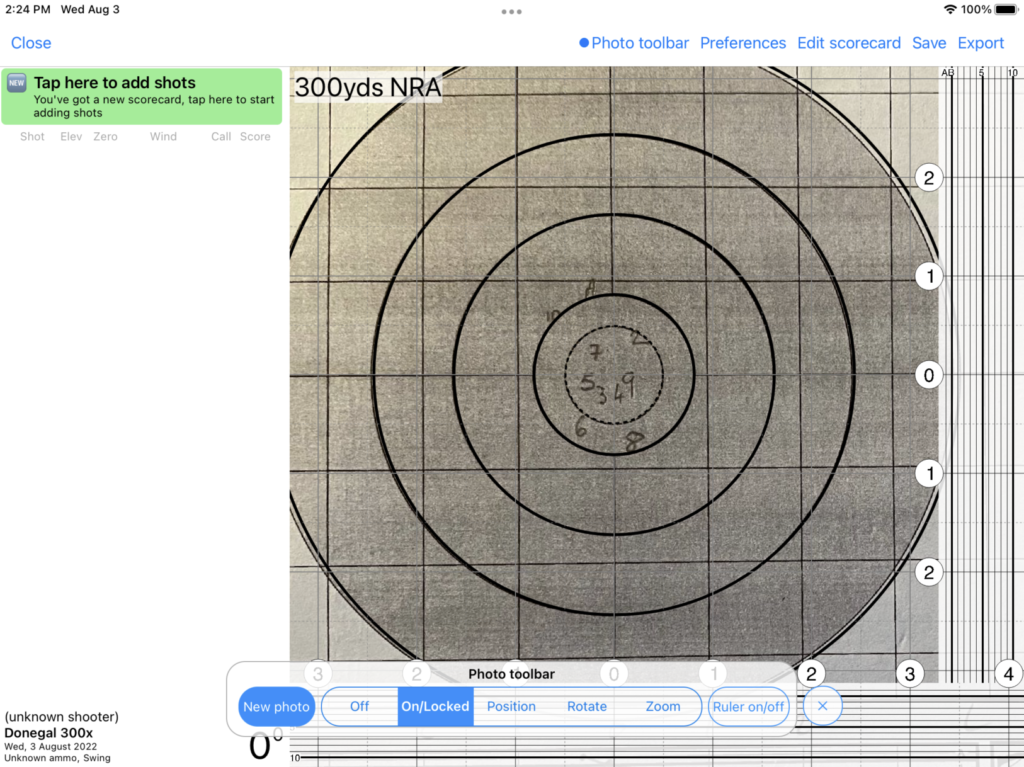
Step 5: Lock the image
Now tap On/Locked on the Image Toolbar. This will lock the image to the digital scorecard, allowing you to move the two together.
You can now Close the Image Toolbar by tapping the ‘X‘ button.
You are now ready to start plotting the shots.